


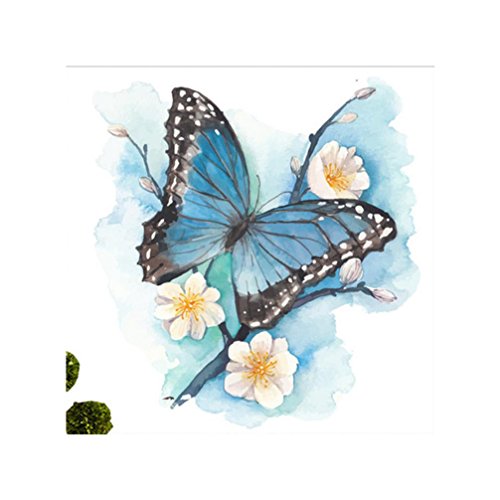
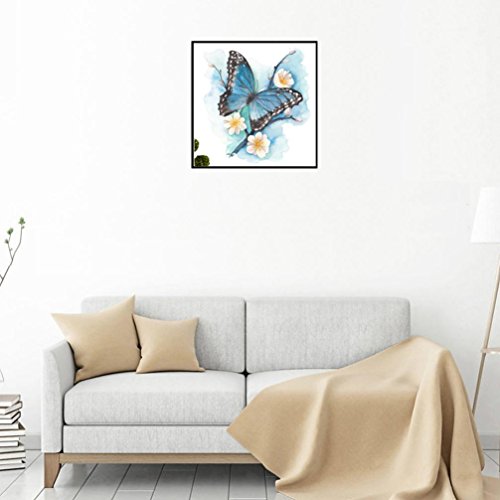


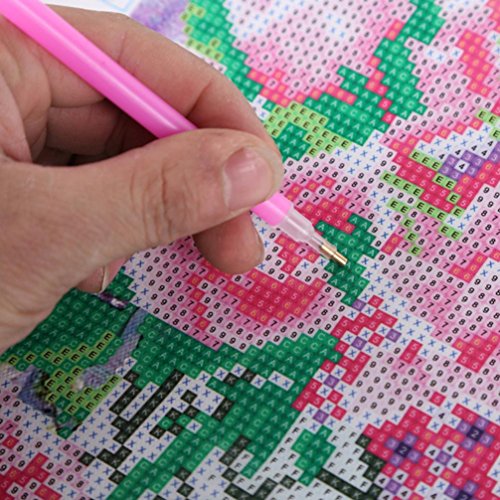
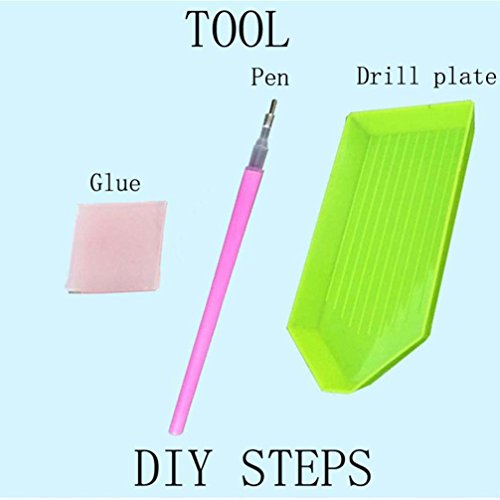
Description: DIY diamond painting production steps: 1. Open the box, check the diamond-specific tools 2. View the diamond color of the resin, in order of encoding 3. Open the tape drawing above, you will see a lot of symbols corresponding to the color coding 4. According to the corresponding color coding folder corresponding to the resin inlaid diamonds 5. Recommend a type of resin diamond set to complete faster 6. In order to create a perfect diamond painting, the drawings are put together, the symbols of each line do not have to stay in diamonds 7. Cut the pattern on the graph and fit the sorted array onto the plane of the upper material 8. The stitching needs to be flat, clean and free of cracks 9. After a good fight, the remaining gap in the glue corresponding to the symbol of the diamond 10. To complete a good diamond plot, place it in a suitable frame of your choice (the restaurant does not provide a frame) In this case, DIY diamond painting Note: 1. Refer to the operating procedure 2. If you do not know what color to use, please refer to the color table 3. Assemble the resin diamond pattern inside the cut line must be, and then trim to ensure the overall effect In this case, Dear, pay attention! We sell the diamond paintings are semi-finished products do not include frames! The framework is not included in the package. Only trees need to be filled with diamonds Note: 1.As the lighting effects, the color of objects maybe a little different from pictures. 2.The hand measurements allowed errors is 1cm-2 cm from different angles. 3.The painting is not handmade, it is printed by machines. 4.To keep down the shipping cost and avoid the frame damaged on shipping,no mat, no inside frame, no outside frame.
Trustpilot
5 days ago
2 weeks ago
